- Archery Tips, Firearm Tips, Hunting
PHOTO TIPS
PHOTO TIPS
Now that hunting season is underway I thought it would be helpful to give some photo tips of your next trophy. There are a few important guidelines to follow to ensure that your hunt is forever memorialized in great quality photos. There are lots of bad hunting photos in the world but with just a few short steps you can have some great photos to help that hunt last a lifetime! I have shared some of the photos I have taken over the years and they are by no means perfect but can give you some good ideas of do’s and don’ts next time you take some hunting photos.
1) Set up and clean up your animal- tuck his/her legs underneath him, set his best side toward the camera (less blood, entry vs. exit wounds etc.), clean up the blood as best you can from around the wound and especially its mouth, and be sure to tuck that tongue back in (or cut it out). The nicer you make your trophy look the better it will look in the picture. This is purely out of respect for the animal who gave its life for you to provide for your family.
2) Clean up the area you are shooting in, i.e., remove tall vegetation or debris that is between the camera and the animal. If the scene of the animal is quite bloody, move 5 or ten yards away to a clean open area. You want pictures of the hunter and the trophy, not the large blade of grass that is in front of its face or a pool of blood nearby.
3) Choose a good backdrop. Be sure to look around and get a backdrop that encompasses your hunting environment (tree line, canyon, food plot, sunset) this will be the scenery for your photo, choose wisely.
 |
| Photo courtesy of Zac Griffith |
4) Put the light towards you (not at your back unless it’s a great sunset) and ALWAYS USE THE FLASH, it’s your best friend! This will help bring good lighting to you photos and help to eliminate shadows. Use the flash even during mid-day shots; this will increase the quality immensely. Be sure to turn it off if taking shots of live animals so you don’t spook them either.
These photos were taken back to back and show the drastic difference between a flash and no flash in low light situations. Time of day will play a large role in how the quality of your photos turn out. Below is a great example of a photo with flash and one without in a mid morning light setting.
5) Get eye/shoulder level with the trophy. Taking pictures standing above does neither you nor the trophy any justice. The lower you get the better you can highlight the key points of the animal and hunter.
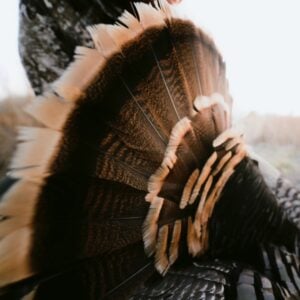
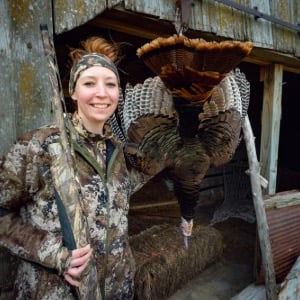
6) Take shots from multiple angles. Turn the head of the trophy to be sure to get all characteristics of the antlers or horns. Be sure not to sit in front of the antlers or horns so you can highlight them against a light back drop (like a silhouette on a sunset). Sky lighting the horns, antlers or fan tails give the shot some dimension and perspective of the size and characteristics of the trophy.
 |
| Photo courtesy of Zac Griffith |
 |
| Photo courtesy of Amie Riggs, Photo taken by Shane Riggs |
