


Capturing the essence of your hunting trip by taking quality photos gives you something to share and cherish with your friends and family for years to come. We have been guiding and outfitting hunters for more than 30 years here in the mountains of Montana. During this time we have come to realize the importance of quality photos for our clients to help capture those moments and give them memories to reflect upon. We are not professional photographers and don’t know all the tricks, but through our experience, we have come up with a few ideas for taking great pictures.
Here are some tips we give our guides when taking photos for the clients.
1. Remember to take lots of photos from several different angles and distances. With today’s digital cameras, it is easy to delete the ones you don’t want.
2. Top priority should be to wipe away the blood from the wound channel, antlers, nose and mouth. Leaving blood on the animal is one of the most common mistakes; also push its tongue back into its mouth. A picture with the tongue hanging out and with blood is unprofessional and can be a turn-off to others viewing your photos.
3. Position the trophy in an appropriate position. If possible, animals should be placed broadside to slightly angled to the camera. The belly needs to be on the ground. Deer and elk look best when they are resting on their front knees.
4. Stay low when taking the photograph. This will enhance the object you are photographing. You should be far enough away that the animal is the main focus. If you are too far away, then the animal will look smaller than it really is.
5. Try not to have your hand on the antlers and remember to keep area clean of backpacks, coats and blood in the background.

Figure 1 and Figure 2 feature the same elk, but the elk looks smaller with the photographer so far away and standing up. There is a backpack in the foreground. With technology today, you can crop this photo to remove the backpack. Pay attention to your surroundings and to detail so that you can see what is in both the background of a photo and the foreground. Let your photo tell the story – make it a good story. Figure 2 depicts what we would deem an appropriate photo, but wearing camo gloves would have masked the hunter’s hands and distracted less from the antlers.
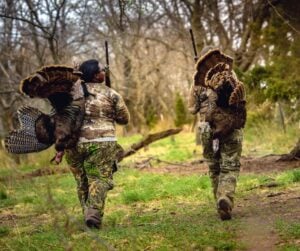
7. These are wild animals and as ethical hunters we should respect this, so never sit on your harvest or show disrespect.
8. This also applies to taking the photo in the field with the background of the area it was harvested. Select an area that reminds the hunter of where that game was harvested. A dead animal in the back of a pick-up is not an ideal photo.
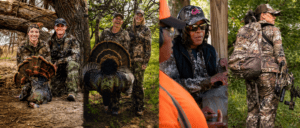
9. Prepare the hunter for the photograph. Remove any blood and dirt from hands and if clothes are bloody, then change them. Your clothes should enhance the contrast with the animal for better pictures. Hunter orange really brings out whatever is in front of it.

Figure 1 and 2 feature the same animal. But in figure 1 the antlers are lost in the hillside, and the hunter is a distraction sitting in the center of the antlers. Figure 2 just changed the angle of the photo, changed the lighting, and moved the hunter, making the deer more pronounced and horn set more visible.
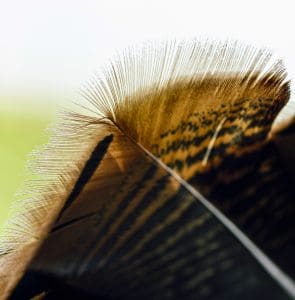
10. Pick a good background. You want to contrast your animal against the background. A deer/elk with dark antlers will look more impressive against a light skyline. Light colored antlers will show better with a dark background.

This is the same elk in both photos, but in figure 1 the antlers blend in with the color of the grass and the photographer is standing above the hunters, which makes the bull look smaller. The guide has his bare hands on the elk and antlers. Again, camo gloves would have reduced this distraction from the elk and his hands wouldn’t reflect the flash. In Figure 2 the antlers are against the light colored sky. The photo shows the mountains and the intensity of the terrain. Plus, the location of the hunter’s hands is not taking away from the antlers. I would suggest in figure 2 the hunter not have his leg in front of the elk.
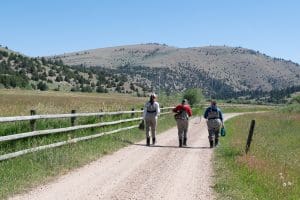
11. One last word of advice is to take lots of photos of the hunt, not just the harvest. It’s all an adventure and spending time in the outdoors is really what it’s about. If you can spend this time with friends and family, or introduce someone new to the sport, those are the photos you will smile about for years to come.
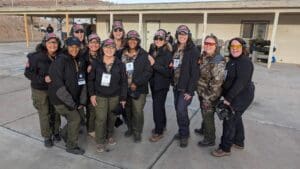
Donna McDonald is a member of Shoot Like A Girl Pro Staff and owner of Upper Canyon Outfitters in Alder, MT. Find out more about Upper Canyon Outfitters at www.ucomontana.com
Donna McDonald is a member of Shoot Like A Girl Pro Staff and owner of Upper Canyon Outfitters in Alder, MT. Find out more about Upper Canyon Outfitters at www.ucomontana.com